
Rendering your home should add kerb appeal, improve weather resistance and often boost thermal performance. Yet, according to Checkatrade data, 1 in 5 rendering projects in the UK develops damp issues within 3 years of completion. That is a staggering failure rate, and in almost every case the root cause is a decision made before the first trowel ever touches the wall.
After twenty years specifying renders on everything from Victorian terraces in Bristol to new-builds in Aberdeen, I have seen the same seven mistakes repeated again and again. This guide walks you through each one, the likely consequence, and what to do instead. Avoid these pitfalls and your render should last 25 to 30 years without costly remedial work.
The 7 Costly Mistakes You Need to Avoid
1. Using cement render on solid-wall Victorian homes
Sand and cement render is cheap, widely available and entirely wrong for a pre-1919 solid-wall property. These older walls need to breathe, and a rigid cement coating traps moisture behind it. The result is blown render, internal damp patches and rotting skirting boards within five winters. For solid-wall homes, specify a lime render or a breathable silicone silicate system. Yes, it costs 30% more, but it is the single biggest factor in a successful Victorian renovation.
2. Ignoring conservation area restrictions
Roughly 10,000 conservation areas exist across England alone. If your property sits inside one, or is listed, changing the external finish almost always requires planning permission. Homeowners who skip this step face enforcement notices demanding the render be removed at their own expense, plus fines of up to £20,000 for listed building works without consent. Always ring your local planning department before you sign a contractor's quote.
3. Skipping the damp-proof course check
Render applied over, or bridging, an existing damp-proof course (DPC) creates a capillary path for rising damp. The render must terminate cleanly at least 150mm above ground level, ideally with a bell-cast bead. I have seen Which? surveyors quote £2,500 to £6,500 to hack off and reinstate render that was taken down to the soil. A five-minute site check before scaffolding goes up would have prevented it.
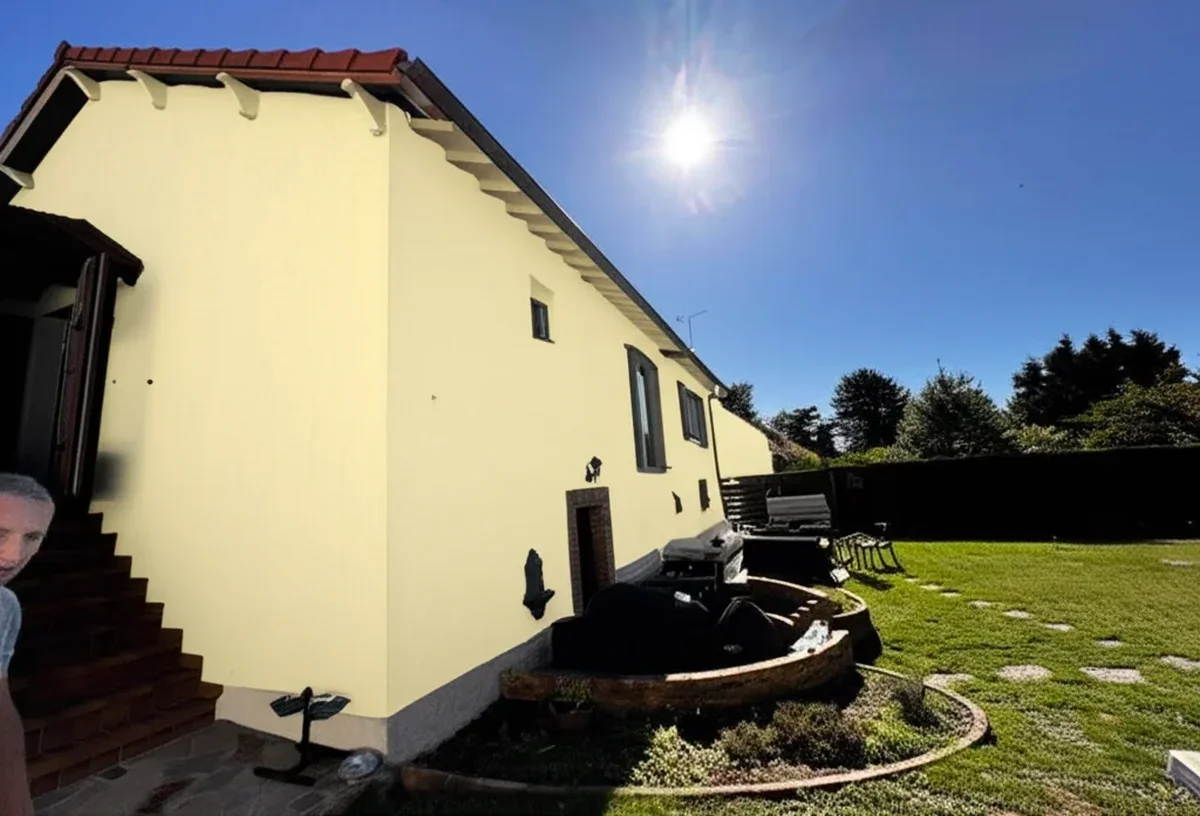
4. Choosing the wrong colour for British weather
Brilliant white looks crisp in the brochure and grubby by November. Our soft, damp climate encourages algae and organic staining, and north-facing elevations in particular will green up within eighteen months. Stick to warm off-whites, stone, putty or soft greys with a mid-range Light Reflectance Value. Before you commit, test your render colour on a photo of your actual house so you can see how it reads against your brickwork, roof and neighbouring properties.
5. Not factoring in Part L thermal upgrade rules
Under the 2022 revision of Part L of the Building Regulations, if you re-render more than 25% of a wall's surface area you trigger a "consequential improvement" requirement. In practice that usually means adding external wall insulation (EWI) at the same time to hit a U-value of 0.30 W/m²K. Ignoring this is a Building Control breach and will show up on your EPC and on any future sale. Factor EWI into your budget from day one, it is far cheaper than retrofitting later.
6. Hiring an un-NHBC-registered contractor
Rendering is one of the trades most plagued by fly-by-night operators. A contractor who is not registered with the NHBC, the Federation of Master Builders (FMB) or Checkatrade-vetted offers you no warranty, no complaints route and no insurance-backed guarantee. NHBC registration costs a firm around £750 per year, so any serious rendering business carries it. If you are quoted a suspiciously cheap price by someone without these credentials, walk away.
7. DIY-ing silicone render application
YouTube makes it look straightforward. It is not. Modern through-coloured silicone renders have working times of 20 to 40 minutes, must be applied wet-on-wet across a whole elevation, and are deeply unforgiving of lap marks, temperature swings and sudden showers, all British weather specialities. A failed DIY application typically needs hacking off and starting again at full cost. Leave silicone to a certified applicator and use your weekends on the prep work instead.
Recap: The 7 Mistakes at a Glance
| Mistake | Consequence | Fix | Avg. cost of fix (£) |
|---|---|---|---|
| Cement on Victorian walls | Trapped damp, blown render | Hack off, apply lime render | £4,000-8,000 |
| Ignoring conservation rules | Enforcement, fines | Retrospective planning | Up to £20,000 |
| Bridging the DPC | Rising damp internally | Cut back, add bell-cast bead | £2,500-6,500 |
| Wrong colour choice | Algae, rapid discolouration | Repaint with breathable coating | £1,800-3,500 |
| Skipping Part L | Building Control breach | Retrofit EWI | £8,000-14,000 |
| Unregistered contractor | No warranty or recourse | Re-do with NHBC firm | Full project cost |
| DIY silicone render | Lap marks, patchy finish | Professional re-application | £5,000-9,000 |
Try it on your house
No photo? Try a sample
BS EN 1062 Compliance: The Specification You Must Insist On
The eighth mistake we now see everywhere, and which deserves equal billing with the seven above, is accepting a render quote that does not state its BS EN 1062 classification. The European standard defines five performance categories: water vapour transmission (V1 to V3), liquid water permeability (W1 to W3), crack-bridging (A0 to A5), particle size (S1 to S4) and CO2 transmission (C0 to C2). For a UK exterior render on a modern cavity wall, insist on V2 W3 A2 S2 as a minimum: vapour permeable enough to release internal moisture, hydrophobic enough to shed driving rain and tolerant of minor thermal movement. K Rend Monocouche HPX, Weber pral M and Parex Maite all carry V2 W3 A2 ratings on their BBA assessment certificates, which you should always download and read before signing a contract.
For solid wall pre-1919 properties the specification flips: you want V1 W2 (high vapour transmission, medium water repellence) which is the signature of true lime renders and silicate finish coats. Specifying a V3 (low permeability) acrylic render on a Victorian solid wall traps moisture and accelerates the very damp failures the 1 in 5 Checkatrade statistic captures. The Planning Portal publishes Building Regulations guidance referencing BS EN 1062 alongside Part L and Part C compliance for retrofit render work. Cross-reference with BS 6262 (glazing interface), BS 5250 (condensation analysis) and BS 7079 (steel preparation where rendering onto rendered steel beams).
Monocouche vs Scratch Coat: Choose the Right System
Even contractors who know the basics frequently default to whichever system they have used most often, rather than the one your wall actually needs. The decision matrix is straightforward. Monocouche (single-coat through-coloured render at 15 to 20 mm) is right for modern cavity walls, new build extensions, garden walls and any substrate with a uniform make-up. Brands such as K Rend Monocouche, Weber pral M, Parex Maite and Sto Reno dominate this category. Pricing across the UK runs 52 to 78 GBP per m squared installed. The advantages: through-colour eliminates masonry paint maintenance, factory mixing guarantees consistency, application speed reduces labour costs. The trade-off: less forgiving on poor substrates, working times of 20 to 40 minutes demand experienced applicators.
A traditional scratch coat plus top coat system (sand-cement undercoat at 8 to 12 mm, render top coat at 6 to 10 mm) is the right choice when the substrate is mixed (brick plus concrete lintel plus stone reveal), when extensive make-good is needed, or on outbuildings where budget rules. Expect 38 to 60 GBP per m squared for the render alone, plus 18 to 30 GBP per m squared for the masonry paint top coat over a stabilising primer. The system tolerates uneven substrates better, allows full control over thermal movement joints, and is the only viable choice when working over existing pebble-dash or roughcast that must be retained. The downside: total finished thickness reaches 14 to 22 mm and the painted finish needs refreshing at year 8 to 12 versus year 25 to 35 for monocouche.
Breathable Render Systems for Older UK Buildings
Mistake 1 in the list above flagged the cement-on-Victorian-wall problem, but it is worth expanding on the breathable alternatives because conservation officers and Building Control now scrutinise them closely. For pre-1919 solid wall properties and any listed building, the recommended specification is lime render using natural hydraulic lime (NHL 3.5) from Cornish Lime, Anglia Lime or Lime Green, at 75 to 110 GBP per m squared installed. Lime render achieves vapour transmission rates of 0.4 to 0.6 g per m squared per day, roughly 10 times the figure for sand-cement, and seasonal moisture cycling protects the soft handmade bricks beneath. The finish is naturally textured and accepts limewash, silicate paint or breathable mineral paint at year 8 to 15 for refresh cycles.
An alternative for non-listed pre-1919 walls is silicone silicate render (K Rend HPX, Weber Silicone Silicate, Parex Decosil) at 65 to 95 GBP per m squared, which marries V2 vapour permeability with W3 hydrophobicity. This is the right specification when full lime is not viable due to skills availability or where the wall has been previously coated with a modern paint that must be partially retained. For listed buildings, Listed Building Consent is mandatory and conservation officers will almost always specify natural lime over synthetic alternatives. The Society for the Protection of Ancient Buildings publishes free technical pamphlets on breathable retrofits, essential reading before any heritage render specification. Manufacturer pages at k-rend.co.uk now host a dedicated heritage silicone silicate range with case studies on UK listed property applications.
Field Note: What 16,983 Previews Tell Us About UK Render Colours
Across 16,983 colour previews generated on the FacadeColorizer visualiser, UK homeowners researching render projects converge on a remarkably narrow palette of warm off-whites and mid-tone greys. The top eight render colour selections, in order, are Dulux Heritage Mid Lead Colour, Sandtex Plymouth Grey, Crown Earthborn Donkey Ride, Farrow & Ball Pavilion Grey, K Rend Cream, Weber Stone, Dulux Weathershield Magnolia and Johnstone's Stormshield Country Stone. Critically, 68 per cent of users abandon their initial brilliant-white choice once they preview it on a real photo of their property: UK weather and algae growth turn pure white walls visibly grubby within 18 months on north and west-facing elevations. Mid-tone neutrals mask atmospheric soiling between maintenance cycles, extending the visual lifespan of the render by 4 to 7 years before any cleaning becomes obvious from the street.
GBP Render Cost Comparison: 2026 Installed Prices
For homeowners researching render at the quote stage, here is the consolidated 2026 cost picture across the five major UK render systems. All prices include materials, labour and a standard 2-storey scaffold for a semi-detached property:
| Render System | Cost per m squared (GBP) | BS EN 1062 Class | Lifespan (years) | Best Use |
|---|---|---|---|---|
| Monocouche (K Rend, Weber, Parex) | 52 to 78 | V2 W3 A2 | 25 to 35 | Modern cavity walls |
| Silicone (K Rend HPX, Weber) | 65 to 95 | V2 W3 A3 | 30 to 40 | Coastal, damp prone |
| Lime render (Cornish, Anglia) | 75 to 110 | V1 W2 (heritage) | 50 plus | Pre-1919 solid wall, listed |
| Acrylic (Sto, Wetherby) | 55 to 80 | V2 W3 A2 | 20 to 30 | EWI top coat, smooth |
| Scratch coat plus top coat | 38 to 60 | V3 W2 A1 | 15 to 25 | Budget, outbuildings |
Sources: Checkatrade Cost Guide 2026, NHBC published rate books, Federation of Master Builders 2026 regional data. Add 8 to 18 GBP per m squared for scaffolding on two-storey properties. Conservation areas and Listed Building consent may add 2 to 8 weeks to the project timeline.
Plan Your Render the Right Way
Every mistake above is avoidable with a morning of research and a confident conversation with your contractor. Before you commit to a colour or a system, preview the finished look on your own property with our visualiser, check your planning status, and insist on written specifications that name the product, the contractor's accreditations and the DPC detail.
Visualise your render colour free →
Sources: Checkatrade Cost Guide 2026, Which? Trusted Traders, Federation of Master Builders, NHBC Standards 2026.
Frequently asked questions
Do I need planning permission to render my house in the UK?
What is the best render for a UK climate?
How much does it cost to fix failed render in the UK?
How can I avoid the most common rendering mistakes?
Trademarks mentioned (Sherwin-Williams, Benjamin Moore, Behr, Caparol, Brillux, Sto, Alpina, Valspar, PPG, Glidden, Dulux, Crown Trade, Sandtex, Farrow & Ball, Johnstone's, Leyland) are property of their respective owners. FacadeColorizer is independent and not affiliated with any of them. Nominative fair use under Lanham Act §1125.