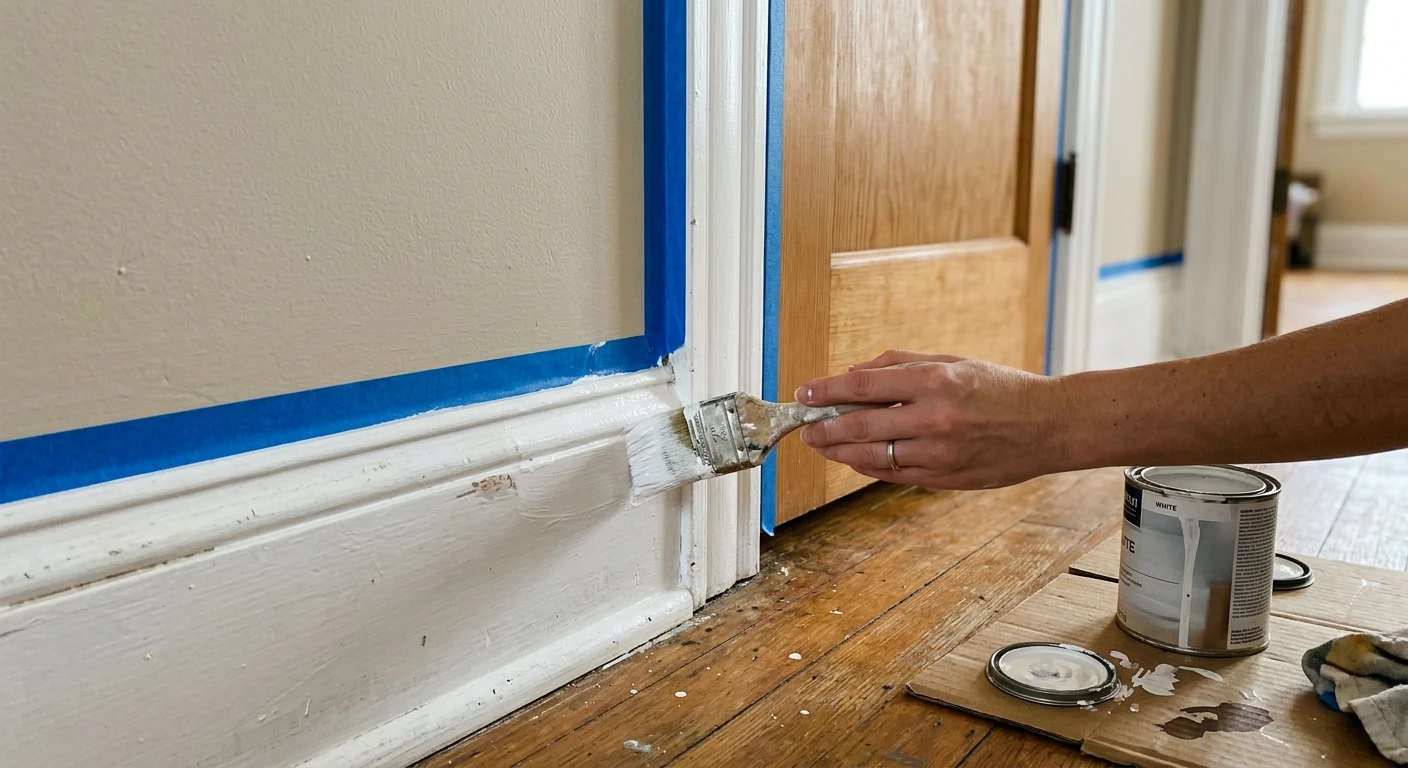

The fastest way to spot an amateur trim job is to crouch down and look along the baseboard at eye level. Drips that ran while wet, a wavy line where the wall paint bled over, brush marks raised like corduroy. Trim, doors, and baseboards are the most-handled, most-scrutinized surfaces in a room, and they are unforgiving because they catch raking light. The good news: painting interior trim well is a process, not a talent. Get the prep order right, use an enamel built for trim, and slow down at the cut line, and a careful DIY job looks crisp. This guide walks the full sequence, from caulk and sand to brush versus spray to the carpet-edge trick the pros use.
Trim work is usually the last 20 percent of an interior repaint and where most of the time goes. If you are budgeting the whole project, see how trim stacks up against walls and ceilings in our interior house painting cost guide for 2026, the parent guide for everything below.
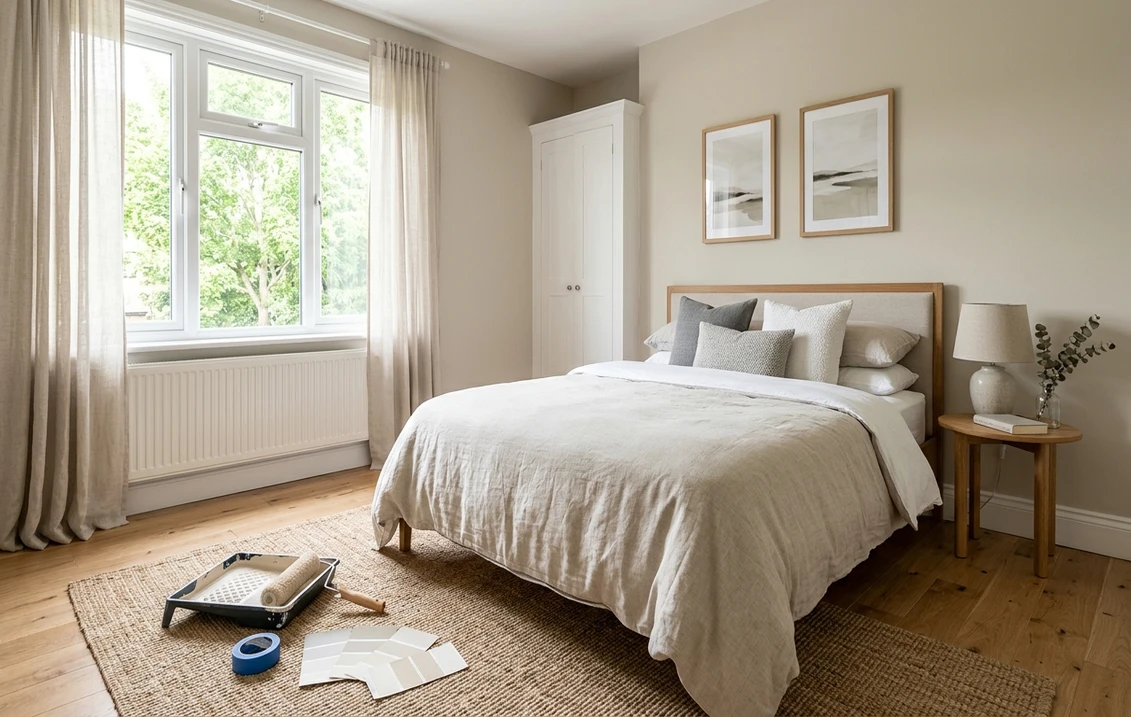
Upload a photo of your actual room and preview a trim or door color in about 30 seconds, free. No sample pots, no taped-off test patches.
At a glance: the trim painting playbook
| Step | What you do | Why it matters |
|---|---|---|
| 1. Clean | Wash trim with a degreaser, rinse, dry | Grease and dust block adhesion |
| 2. Fill and caulk | Wood filler in dents, paintable caulk on seams | Hides gaps; the line that reads finished |
| 3. Sand | Scuff with 150 to 220 grit, dust off | Dulls the sheen so the new coat grips |
| 4. Prime | Bonding or stain-blocking primer on bare or stained wood | Stops peeling and bleed-through |
| 5. Paint | Two thin coats of trim enamel, satin or semi-gloss | Levels smooth, wipes clean, lasts |
Order matters: most failed trim jobs skip step 1 or 3. Sources: Sherwin-Williams and Benjamin Moore product literature 2026; professional field practice compiled by FacadeColorizer.
Step 1: Clean and protect before you touch a brush
Trim collects a film you cannot see: hand oils on door edges, cooking grease near a kitchen, dust on the top edge of baseboards. Paint will not bond to it. Wipe everything down with a degreasing cleaner, rinse, and let it dry fully. While the trim dries, protect the floor and walls. Run painter's tape where the baseboard meets the wall only if your wall color is finished and cured; otherwise leave the wall edge for a steady freehand cut, which often looks cleaner than tape that lets paint creep under it.
Step 2: Fill, then caulk (the step that separates good from great)
Two different products, two different jobs. Wood filler goes into nail holes, dents, and gouges in the trim itself; press it in, let it dry, then sand flush. Paintable acrylic latex caulk goes into the long seams: where trim meets the wall, where two pieces of casing meet at a miter, along the top of a baseboard. Lay a thin bead, smooth it with a wet fingertip, and wipe the excess. That single clean caulk line is what makes trim read custom instead of builder-grade. Skip it and every gap throws a shadow under raking light. Let caulk cure before painting, usually a few hours to overnight depending on the product.
Step 3: Sand to give the new coat something to grip
Old trim is usually coated in a hard, slick enamel, and fresh paint slides off slick surfaces. A light scuff-sand with 150 to 220 grit dulls that sheen so the topcoat can mechanically grip. You are not stripping anything, just knocking down the gloss and any nibs of dust caught in the old finish. Sand the filler flush, feather any chipped edges, then vacuum and tack-cloth every speck of dust off. Dust trapped under wet enamel is the most common reason a trim job feels gritty when you run a hand along it.
Step 4: Prime where it counts
You do not always need to prime the whole run. Prime bare or raw wood, anything previously stained (a stain-blocking primer keeps tannins and old color from bleeding through your white), water stains, knots, and any patch where you sanded down to substrate. A bonding primer also helps fresh enamel stick to glossy old oil-based trim. Over sound, scuff-sanded paint of the same type, a quality self-priming enamel can go straight on. For the full breakdown of when primer is non-negotiable versus optional, our interior paint primer guide covers every substrate.
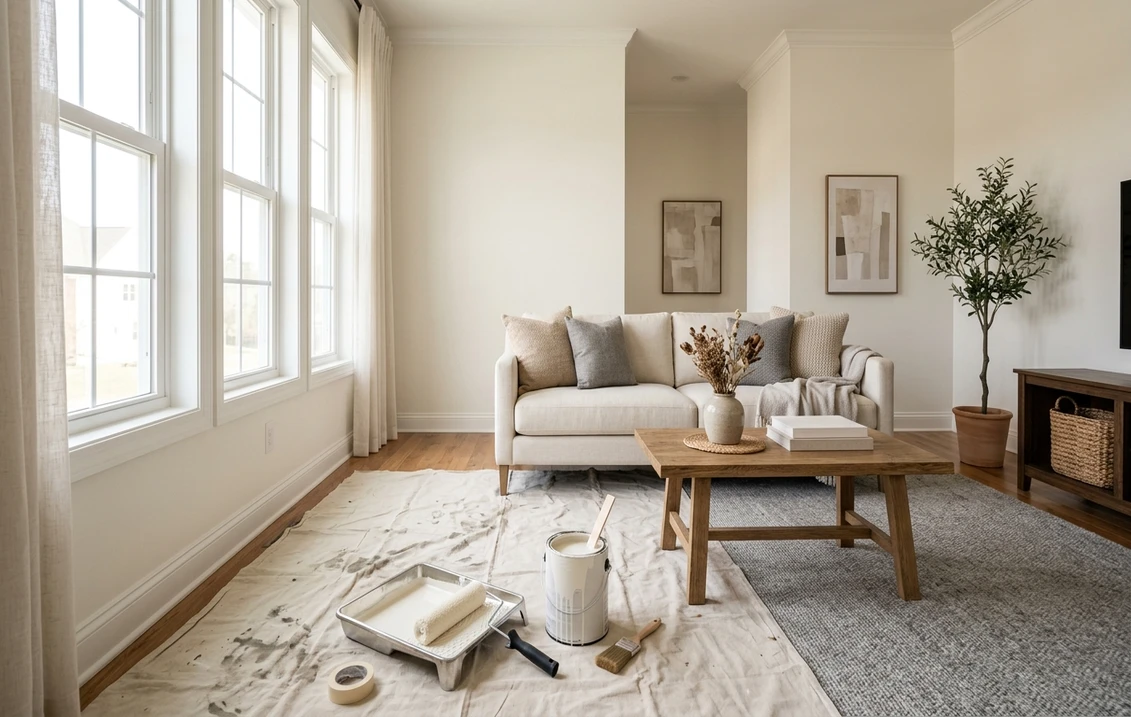
Preview crisp white or a moody trim color against your actual walls, free, before you commit a quart.
Brush vs spray: which finish, and when
This is the decision that most affects how smooth your trim looks. Both work; they suit different situations.
| Method | Finish | Best for | Watch out for |
|---|---|---|---|
| Brush and roll | Very good with a leveling enamel | Trim already installed; baseboards; one room | Brush marks if paint dries too fast; overworking |
| Spray (HVLP/airless) | Smoothest, factory-like | Doors off the hinges; whole-house new trim | Heavy masking; overspray; learning curve |
For installed trim and baseboards in an occupied home, brush and roll is the practical winner: minimal masking and a modern waterborne alkyd levels out most brush marks on its own. Spraying gives the glass-smooth result, but the masking to contain overspray often costs more time than it saves unless you have a lot of trim or you can take doors off and spray them flat on sawhorses. A common hybrid: spray the doors off-site, brush the casing and baseboards in place.
How to paint a door so it does not look brushed
On a paneled door, paint in this order so wet edges meet wet edges: the recessed panels first (brush the molding, then the flat panel), then the horizontal rails, then the vertical stiles last, brushing top to bottom. Lay it off with light strokes in the direction of the grain and resist going back into paint that has started to set. If you can remove the door, lay it flat to paint; gravity helps the enamel self-level and kills runs.
The carpet edge: how to paint a baseboard above carpet
Baseboards meeting carpet scare people, and the fix is simple. Take a 5-in-1 tool or a wide putty knife and press the carpet down and back, tucking the fibers under the bottom edge of the baseboard. Paint with the metal blade held there as a shield, sliding it along a few inches at a time. The blade catches any stray paint and keeps it off the carpet. Wipe the blade as you go. For baseboards over hard flooring, a thin painter's tape line or a steady freehand cut both work; over carpet, the shield is faster and cleaner than trying to tape fibers down.
Best trim paint sheen: satin or semi-gloss
Trim takes abuse and needs to wipe clean, so you want a harder, shinier sheen than the wall. The two real choices:
- Semi-gloss: the traditional trim sheen. Most durable, wipes cleanest, and the reflection crisply outlines the trim against a flat wall. The catch: it shows every dent, brush mark, and imperfect prep, so your filling and sanding have to be good.
- Satin: the modern favorite. A soft sheen that still wipes clean but hides minor surface flaws far better than semi-gloss. If your trim is older or your prep is merely good, satin is the forgiving pick.
Skip flat and eggshell on trim; they scuff and will not survive a wet wipe at a doorknob or kick mark. For how sheen behaves across an entire room (walls, ceilings, trim together), see our interior paint finish guide.
Which products pros reach for
A trim-grade enamel levels smooth and cures hard, unlike wall paint that stays soft and prints. Common picks include Sherwin-Williams Emerald Urethane Trim Enamel (a urethane-fortified acrylic that blocks well so doors do not stick), Benjamin Moore Advance (a waterborne alkyd that flows almost like old oil), and value options like Behr Cabinet and Trim Enamel. For how the major brands compare across the whole interior lineup, our best interior paint brands ranked for 2026 lays out where each one wins.
Choosing a trim color (and previewing it first)
Most people default to white trim, and for good reason: a clean white frames the wall color and reads timeless. But "white" hides a lot of undertones. A bright, near-pure white like Benjamin Moore Chantilly Lace (OC-65, LRV around 90) keeps trim crisp and cool, while a softer warm white like White Dove (OC-17, LRV 85) feels gentler and pairs with warm wall colors without the trim looking dingy. The mistake is pairing a cool, blue-leaning white trim with a warm beige wall, where the trim suddenly reads gray. Light reflectance and undertone drive how a white reads in your room; our LRV and light reflectance guide explains why the same white looks different on a north wall versus a south one.
If you want a current alternative to white, painting trim the same color as the wall (a tonal, "color-drenched" look) or going moody with a deep trim is trending in 2026. Either way, two chips held to the wall tell you almost nothing at scale. Browse the full range of trim whites and their undertones in our shades of white paint colors guide, then preview your finalists on your actual room before buying.
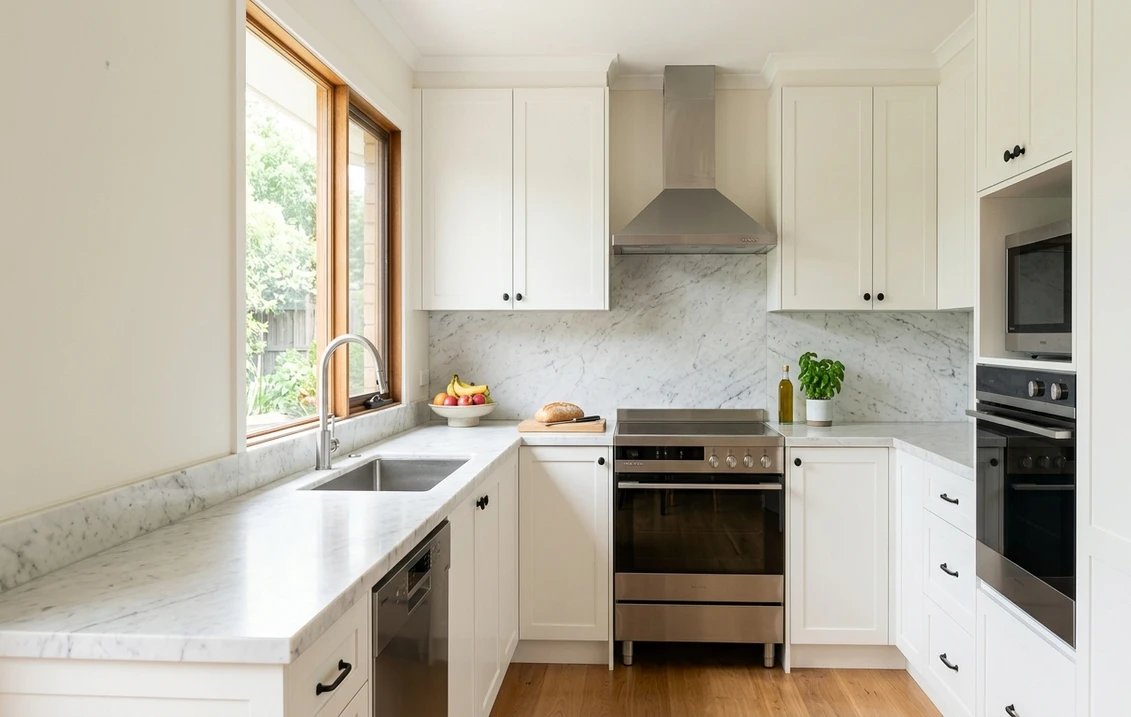
Free AI visualizer. See the exact trim white against your real walls before you buy a quart.
Frequently asked questions
Do you paint walls or trim first?
There are two valid orders. Many pros paint the trim and doors first, let them cure, tape them off, then roll the walls; cutting a wall to a hard trim edge is easier than cutting trim to a wall. The other common approach is walls first, then trim last so the trim gets the final crisp line. Either works. What does not work is painting trim before the ceiling, since ceiling roller spatter will land on fresh trim.
Do I have to sand trim before painting?
Yes, at least a light scuff-sand. Old trim usually has a hard, glossy enamel that fresh paint will not grip, so a quick pass with 150 to 220 grit dulls the sheen and gives the new coat something to hold. You are not stripping the finish, just deglossing it and smoothing any filler or chipped edges. Vacuum and wipe off all dust before painting, or it will show in the cured surface.
What sheen is best for interior trim and baseboards?
Satin or semi-gloss. Semi-gloss is the most durable and wipes cleanest, but it shows every imperfection, so your prep has to be careful. Satin is the modern favorite because it still wipes clean while hiding minor flaws far better. Avoid flat and eggshell on trim; they scuff and cannot take a wet wipe at handles and kick marks.
Should I brush or spray interior doors and trim?
For installed trim and baseboards in an occupied home, brush and roll with a self-leveling enamel is usually the smarter choice because it needs little masking and a good waterborne alkyd levels out most brush marks. Spraying gives the smoothest, factory-like finish and shines for doors taken off the hinges or whole-house new trim, but the masking to control overspray often outweighs the benefit on a single room. A popular hybrid is to spray the doors flat and brush the casing in place.
How do I paint baseboards next to carpet without getting paint on it?
Use a wide putty knife or 5-in-1 tool as a shield. Press the carpet down and tuck the fibers under the bottom edge of the baseboard, then paint with the metal blade held against that edge, sliding it along a few inches at a time so it catches any stray paint. Wipe the blade as you go. This is faster and cleaner than trying to tape down carpet fibers.
Upload one photo and preview your trim, door, and wall colors together before you buy a drop of paint.
Disclaimer: Sherwin-Williams, Benjamin Moore, Behr, the named color codes (OC-65 Chantilly Lace, OC-17 White Dove) and product names (Sherwin-Williams Emerald Urethane Trim Enamel, Benjamin Moore Advance, Behr Cabinet and Trim Enamel) are trademarks of their respective owners. FacadeColorizer is an independent paint visualization service and is not affiliated with, endorsed by, or sponsored by Sherwin-Williams, Benjamin Moore, or Behr. Color reproduction on screens approximates the manufacturer's chip; always confirm with a manufacturer sample under your own light before purchase. LRV figures are from manufacturer data sheets; application guidance reflects general professional practice, not a guarantee of results. Sources: Sherwin-Williams and Benjamin Moore technical data sheets 2026 and manufacturer product literature.
Trademarks mentioned (Sherwin-Williams, Benjamin Moore, Behr, Caparol, Brillux, Sto, Alpina, Valspar, PPG, Glidden, Dulux, Crown Trade, Sandtex, Farrow & Ball, Johnstone's, Leyland) are property of their respective owners. FacadeColorizer is independent and not affiliated with any of them. Nominative fair use under Lanham Act §1125.