Here is the short answer most guides bury: to paint kitchen cabinets that actually last, you remove the doors and hardware, degrease every surface, scuff-sand to dull the old finish, prime with the right primer for your material, then apply two thin coats of a cabinet-grade enamel and let it cure for two to three weeks before heavy use. The whole project runs a long weekend of active work spread over a week of dry time. Skip the degrease-and-prime step and the paint chips at the handles within a year, which is the single most common reason a DIY cabinet job fails. This page walks the full sequence, including a dedicated section on laminate cabinets, which need a different primer to grip.
This is the how-to. If you are still choosing the shade, do that first: our kitchen cabinet colors complete guide is the full reference, best paint for kitchen cabinets covers the enamels and trending colors, and white kitchen cabinet paint colors handles the most-requested category. Pick the color there, then come back here to apply it.
Upload a photo of your real kitchen and preview your cabinet color in about 30 seconds, free. Confirm the shade before you commit a weekend and a quart of enamel.
At a glance: what painting cabinets actually takes
| Detail | What to expect |
|---|---|
| Active work | A long weekend for an average kitchen (prep is most of it) |
| Total elapsed time | About a week, including dry time between coats |
| Skill level | Beginner-friendly with patience; prep matters more than skill |
| Hardest part | Degreasing and sanding, not the painting |
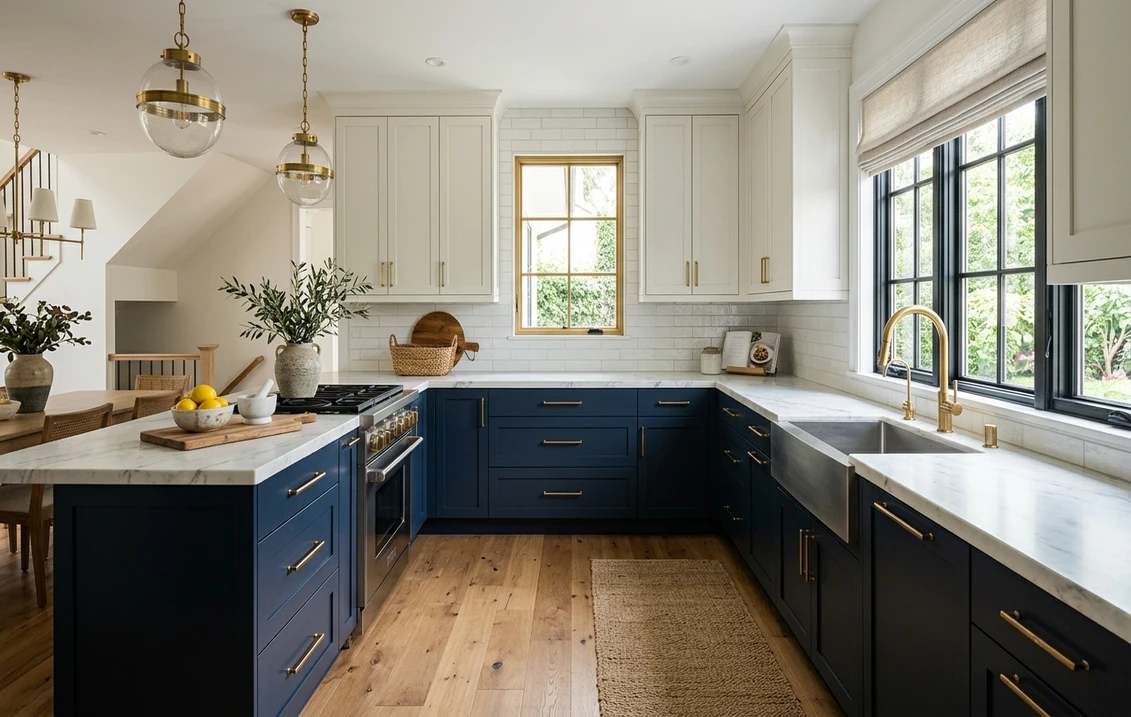
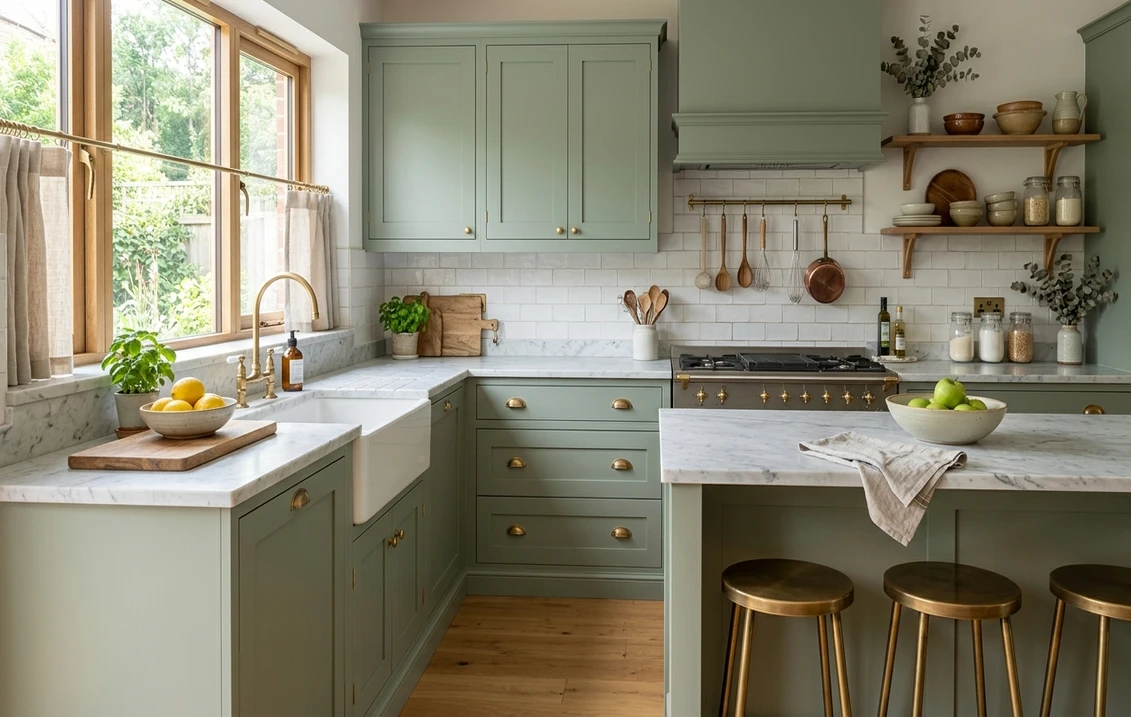
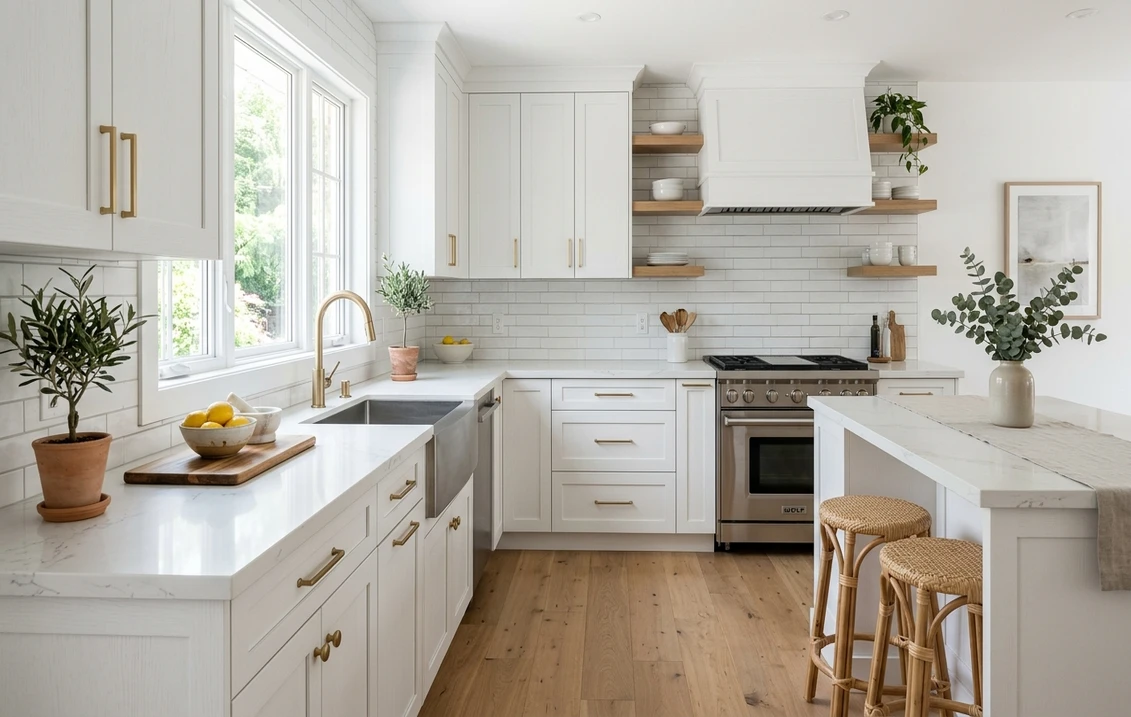
| Finish to use | Satin or semi-gloss enamel, never flat or eggshell |
| Full cure | 2 to 3 weeks; handle gently until then |
Tools and materials you will need
- Cleaning: a strong degreaser (TSP substitute or a dedicated cabinet cleaner), clean rags, and gloves.
- Sanding: 120 and 220 grit sandpaper or sanding sponges, plus a tack cloth.
- Primer: a bonding or stain-blocking primer (the right one depends on wood vs laminate, see below).
- Paint: a cabinet-grade enamel in satin or semi-gloss. See best paint for kitchen cabinets for product picks.
- Application: a quality angled brush, a fine 4 inch foam or microfiber roller, painter's tape, and a drop cloth.
- Organization: labeled bags for hardware, a marker, and sawhorses or a folding table to lay doors flat.
The 8 steps to paint wood cabinets
Step 1: Remove doors, drawers, and hardware
Take the doors and drawer fronts off and unscrew every hinge, knob, and pull. Painting in place looks faster but leaves brush marks where the door meets the box and almost guarantees drips. The trick that saves you at reassembly: number each door and its matching cabinet opening with a small piece of tape, and bag the hardware by location. Doors rarely hang exactly the same in a different spot.
Step 2: Degrease everything (do not skip)
Kitchen cabinets carry an invisible film of cooking grease, and paint will not bond to it. Wipe down every surface, front and back, with a degreaser, paying extra attention to the area around the stove and the handles. Let it dry fully. This is the most-skipped step and the one that causes most peeling, so treat it as non-negotiable.
Step 3: Scuff-sand to dull the finish
You are not stripping the cabinets to bare wood. You are dulling the old sheen so the primer has something to grip. Hit every surface with 120 grit, then smooth with 220, and knock down any raised oak grain if you want a glassy finish. Wipe off all the dust with a tack cloth; leftover dust shows up as grit in your first coat.
Step 4: Fill, caulk, and clean up grain
Fill old hinge holes you are not reusing, dents, and any gouges with wood filler, then sand flush. If you want a fully smooth modern look on open-grain oak, a thin coat of grain filler or a sandable surfacer evens it out. Vacuum and tack-wipe again.
Step 5: Prime
Prime every surface with a bonding or stain-blocking primer. On raw wood, open oak grain, or anything previously stained, a stain-blocking primer stops tannin bleed that would otherwise yellow a white topcoat. Apply one thin, even coat, let it dry per the label, then lightly sand with 220 to knock off any nibs. Primer is your adhesion insurance; do not treat it as optional.
Step 6: Paint, two thin coats
Cut in the profile and panel edges with the brush, then immediately lay off the flat faces with the fine roller while the brushed paint is still wet. Two thin coats always beat one thick coat: thick paint sags, prints, and stays soft. Let the first coat dry fully, scuff lightly with 320 if it feels rough, tack-wipe, and apply the second. Paint the backs first so the visible fronts are your last and cleanest pass.
Step 7: Reassemble carefully
Wait until the paint is firm to the touch and no longer tacky, usually at least 24 to 48 hours, before rehanging. Reattach hardware and hinges using your labels, and rehang each door in its original opening. Add small felt or rubber bumpers inside the door corners so freshly painted edges do not stick to the frame.
Step 8: Let it cure
Paint is dry to the touch in hours but not fully cured for two to three weeks. During that window the film is still hardening, so close doors gently, avoid stacking dishes against painted surfaces, and hold off on scrubbing. Rushing this is how brand-new paint ends up dented and printed at the handles.
See the finished color on your real cabinets first, free. Cheaper than repainting because the white read gray next to your counter.
How to paint laminate cabinets (the key difference: adhesion)
Laminate and thermofoil cabinets can be painted, but they are slick, non-porous, and were never designed to hold paint, so adhesion is the whole game. The sequence mirrors wood cabinets with three critical changes:
- Use a bonding primer made for slick surfaces. This is the one change you cannot improvise. A shellac-based or a specialty bonding primer (the kind rated for tile, glass, and laminate) grips where a standard wall primer slides right off. Skip this and the topcoat peels in sheets.
- Scuff more deliberately. Laminate has no grain to bite into, so a thorough 150 to 220 grit scuff over every face gives the primer mechanical tooth. Wipe clean; any residue ruins the bond.
- Repair edges and peeling first. If the laminate is lifting at a corner, glue and clamp it before priming, because paint will not reattach a peeling skin.
After the bonding primer is down and dry, the rest is identical to wood: two thin coats of cabinet enamel in satin or semi-gloss, light scuff between coats, then a patient cure. Laminate jobs reward gentle handling during cure even more than wood, since the bond is mechanical rather than soaked into a porous surface.
| Step | Wood cabinets | Laminate / thermofoil |
|---|---|---|
| Degrease | Required | Required (residue kills the bond) |
| Sand | 120 then 220 to dull sheen | 150 to 220, scuff every face for tooth |
| Primer | Stain-blocking or bonding primer | Bonding primer rated for slick surfaces (shellac or specialty) |
| Topcoat | 2 thin coats cabinet enamel | 2 thin coats cabinet enamel |
| Cure care | Gentle for 2 to 3 weeks | Extra gentle (bond is mechanical) |
Color and undertone: get it right before the brush
The best prep cannot save the wrong color. A warm white can read gray in a north-facing kitchen, and a soft greige can pull green next to certain counters. Lightness drives how the color behaves: a high light reflectance value (LRV) keeps a small kitchen feeling open, while a deep color closes it in. If you are weighing a white, gray, or any neutral, our LRV and light reflectance value guide explains how to read those numbers, and the white kitchen cabinet paint colors guide lists shades that stay clean under kitchen lighting. The cheapest way to avoid a repaint is to preview the actual color on your actual kitchen before you open a can.
Common mistakes that wreck a cabinet job
- Skipping the degrease. Invisible grease is the number one cause of peeling. Clean even cabinets that look clean.
- Using wall paint instead of cabinet enamel. Wall paint stays soft and prints at the handles within a year.
- One thick coat to save time. It sags and stays tacky. Two thin coats cure harder and look smoother.
- Wrong primer on laminate. A standard primer slides off slick surfaces; you need a bonding primer.
- Reassembling and using too soon. Cured paint takes weeks. Early heavy use dents a finish that has not hardened.
- Flat or eggshell finish. Both hold grease and scuff. Stick to satin or semi-gloss in a kitchen.
Frequently asked questions
Do you have to sand cabinets before painting?
Yes. You do not have to strip them to bare wood, but you must scuff-sand to dull the old finish so the primer can grip. Skip sanding (and degreasing) and the paint will peel at the edges within a year. Use 120 then 220 grit on wood, and a thorough 150 to 220 scuff on slick laminate, wiping off all dust before priming.
Can you paint laminate kitchen cabinets?
Yes, but the surface is slick and non-porous, so adhesion is everything. The key difference from wood is the primer: use a bonding primer rated for slick surfaces (shellac-based or a specialty bonding primer for tile, glass, and laminate), not a standard primer. Scuff-sand thoroughly first, repair any lifting edges, then apply two thin coats of cabinet enamel and let it cure fully.
How long does it take to paint kitchen cabinets?
Plan a long weekend of active work for an average kitchen, most of it prep, spread across about a week to allow dry time between primer and two topcoats. The paint is dry to the touch in hours and firm enough to rehang doors in 24 to 48 hours, but it takes two to three weeks to fully cure, so handle gently during that window.
What kind of paint do you use on kitchen cabinets?
Use a cabinet-grade enamel that cures into a hard, smooth film, in a satin or semi-gloss finish, not standard wall paint and not a flat or eggshell sheen. A cabinet enamel resists grease and wiping far better and prints less at the handles. See our best paint for kitchen cabinets guide for specific product picks.
Should I brush or spray cabinets?
Spraying gives the smoothest factory-like finish, but it requires masking the whole kitchen and some practice. For most DIY jobs, a quality angled brush to cut in the profiles plus a fine foam or microfiber roller for the flat faces gets very close with far less setup. Either way, two thin coats beat one thick one.
Before the prep starts, confirm the color looks right on your real kitchen. Upload one photo and preview it in about 30 seconds.
Disclaimer: This guide describes general best practices for repainting kitchen cabinets and is not a substitute for the application instructions on your specific primer and paint, which you should always follow. Product categories (bonding primer, stain-blocking primer, cabinet enamel) are described generically; brand names referenced in our linked guides are trademarks of their respective owners, and FacadeColorizer is an independent paint visualization service not affiliated with or endorsed by any paint manufacturer. Cure times, sanding grits, and dry times vary by product, temperature, and humidity; confirm with the label. Color reproduction on screens approximates the real finish, so always confirm a color under your own light before purchase.