Try it on your room

Paint bubbles or peels when it loses its grip on the surface underneath, and in UK homes the cause is usually one of five things: new plaster painted without a mist coat or before it was dry, moisture from condensation, a leak or damp, a surface left dirty or unprepared, gloss or silk paint that was never keyed, or old distemper under the paint. Painting over it will not last. Find and fix the cause, check old paintwork for lead before you scrape, remove everything loose, let the wall dry, seal it with the right product (Zinsser Peel Stop on previously painted surfaces, a sealer such as Zinsser Gardz or a mist coat on bare plaster), then repaint. If the wall is still damp, no primer will hold: Zinsser's own data sheet rules Peel Stop out where the failure comes from chronic moisture.
Product figures come from makers' pages and data sheets read on 1 November 2026. Crown's consumer guide and British Gypsum's website block automated reading, so those two were read only as search extracts, and we say so where they are used. Black spots rather than blisters are a different problem: see our anti-mould paint guide.
Repainting after the repair? Choose the colour first
Our tool will not diagnose or repair a wall: it changes the colour in your photo, so you can compare shades before buying the topcoat. How it works: our interior paint visualiser.
Try colours on my roomWhy paint bubbles and peels: a quick diagnosis
Zinsser's guide to fixing flaking paint puts it down to poor surface preparation, moisture or the wrong product for the surface. Where the failure appears, and how soon, usually tells you which.
| What you see | Likely cause | Quick check | Repair route |
|---|---|---|---|
| Blisters or sheets of paint on a recently plastered wall | No mist coat, or plaster still wet | Paint lifts cleanly and the plaster behind is bare | Strip, dry, mist coat or sealer, repaint |
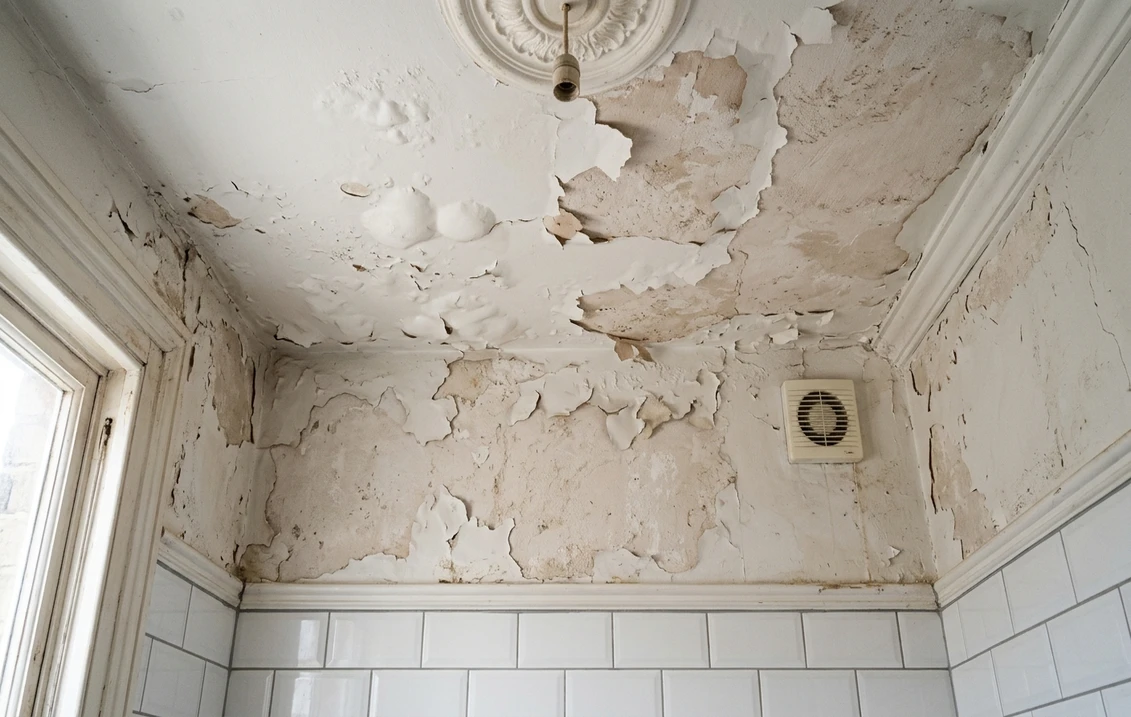
| Blisters and curling flakes on a bathroom or kitchen ceiling | Condensation, weak extraction | Ceiling runs wet after a shower; test the fan | Fix the extraction, then Peel Stop and topcoat |
| A patch that spreads after rain, or under a bathroom, often stained | Penetrating damp or a leak | Moisture meter; look at the roof, gutters and pipes above | Repair first, dry out, stain-block, repaint |
| Blistering low on a ground-floor wall with a tide mark | Rising damp | Damp all year, not only in cold weather | Not a decorating job until it is treated |
| Emulsion peeling in strips from a shiny layer | Gloss or silk never keyed or primed | The exposed layer underneath still shines | Degrease, dull the sheen, bonding primer |
| Old ceiling, chalky behind the flakes, paint comes away in plates | Distemper under modern paint | A damp sponge turns white on the bare patch | Wash off or seal with Gardz |
| Cracking and peeling soon after stripping wallpaper | Old paste reactivated by water-based paint | Slippery film when the wall is wetted | Wash off, then seal with Gardz |
Try it on your room
No photo? Try a sample
These checks are practical pointers, not lab tests. One more helps on any wall: press masking tape on the paint beyond the failed area and pull it away. If sound-looking paint comes off with it, the problem is wider than the visible patch.
New plaster: why the mist coat matters, and what the makers actually say
Fresh plaster is thirsty and alkaline: Zinsser's Gardz data sheet calls it extremely porous, with a pH of 12 or more in many cases. Valspar's guide warns that emulsion on wet plaster may not bond and could peel, and that on dry bare plaster it dries too quickly. Zinsser's flaking-paint guide draws the same line: a surface not primed or left to dry leads to peeling and blistering. A mist coat is thinned paint that the plaster can absorb, sealing it for the coats that follow.
British Gypsum sets no number of days. Its Thistle MultiFinish data sheet says gypsum plasterwork must always be thoroughly dry before decorating, although a coat of permeable paint can be applied in the interim, and that the paint maker's instructions should be followed (we read this in the August 2018 edition, in a merchant's copy; a search extract of the edition dated 15 September 2026 gives the same advice). Valspar suggests allowing about a week. Crown's new plaster guide (search extract) says a week or two for finishing plaster. Johnstone's trade advice page suggests a moisture meter. Without a meter, Valspar's test costs nothing: tape a 30 cm square of clear plastic or cling film to the wall, seal the edges and leave it for 24 hours. Condensation or damp underneath means the plaster is not ready.
How much water? There is no single answer: published instructions differ by more than six times, because each belongs to a particular paint:
| Maker and paint | Maker's instruction for new or bare plaster | Water per litre of paint (our calculation) |
|---|---|---|
| Crown, consumer guide (search extract) | 6 parts paint to 4 parts water, as a rule of thumb | About 670 ml |
| Valspar emulsion | 3 parts emulsion to 1 part water; check the tin, or use its primer | About 330 ml |
| Dulux Trade Vinyl Matt | Up to 1 part water to 5 parts paint; new surfaces must be fully dry | Up to 200 ml |
| Dulux Matt | Thinned 10% with water; if very porous, Dulux Sealer for Plaster | About 100 ml, reading 10% as a share of the paint |
| Johnstone's Covaplus Vinyl Matt | One slightly thinned coat, then two full coats; no figure given on the advice page | Not stated |
Crown's Contract Matt/Silk data sheet, issued by Crown Paints Ireland, is in the same range as its consumer guide: 40% clean water by volume. So use the instruction for the tin in your hand, not a ratio copied from another brand. The table also undercuts a piece of advice often repeated online, that vinyl matt must never be used as a mist coat: Dulux Trade and Johnstone's both describe exactly that, within their stated limits. If you would rather not mix anything, Crown Trade says its Covermatt Drywall Primer can serve as a mist coat where water is hard to come by.
Valspar asks for 24 hours after the mist coat or primer before the topcoat; other products differ, so read the tin. Where paint has already failed on new plaster, scrape back to a firm edge and treat what is left as bare plaster: Zinsser Peel Stop is the wrong product here, since the Peel Stop page names Gardz as its best choice for bare plaster.
Paint peeling from a bathroom ceiling
Warm, wet air rises and settles on the coldest surface it finds. Zinsser says high humidity and poor ventilation can lead to moisture build-up that makes paint blister, and a ceiling under a cold loft is an obvious place for it. Before touching the paint, deal with the air: in England, Approved Document F sets 15 litres per second as the minimum intermittent extract rate for a bathroom in new and altered homes. It does not cover a room you are only redecorating, but it is a useful benchmark. See also our guide to condensation problems.
Then rule out a leak. The government's damp and mould guidance separates condensation from penetrating damp, rising damp and leaks. A brown ring points to water from above, and Johnstone's advice on ceiling stains is clear: rectify the cause first, wait until the surface is fully dry, then apply its Stain Block Primer before the topcoat.
Once the ceiling is dry, Peel Stop is built for this job, and its page lists flaking paint in bathrooms, kitchens and laundry rooms among its uses. It also recommends a mould-resistant topcoat in high-moisture rooms. For that choice, compare Dulux Easycare Bathroom, Johnstone's Bathroom paint and the specialist paints in our anti-mould comparison. Our bathroom paint colours guide helps with the shade.
Elsewhere in the house, see our guides to penetrating damp and rising damp before spending money on primer.
Gloss, silk and unprepared surfaces
Zinsser's guide to glossy surfaces scrapes off anything loose, sands the edges, washes the sound paint with a degreaser, rinses, checks that moisture is no higher than 18%, then applies one full coat of B-I-N or the low-odour B-I-N Aqua, with at least 45 minutes before the topcoat. The Peel Stop sheet separately says to dull glossy areas with sandpaper.
The same logic applies to vinyl silk on walls. Johnstone's says that once the surface is prepared, one coat of Ultra Primer Sealer should go on before a matt emulsion over existing vinyl silk. Wash grease and handling marks off first: Dulux's preparation guide uses sugar soap and a clean-water rinse.
Old distemper: the ceiling that keeps shedding
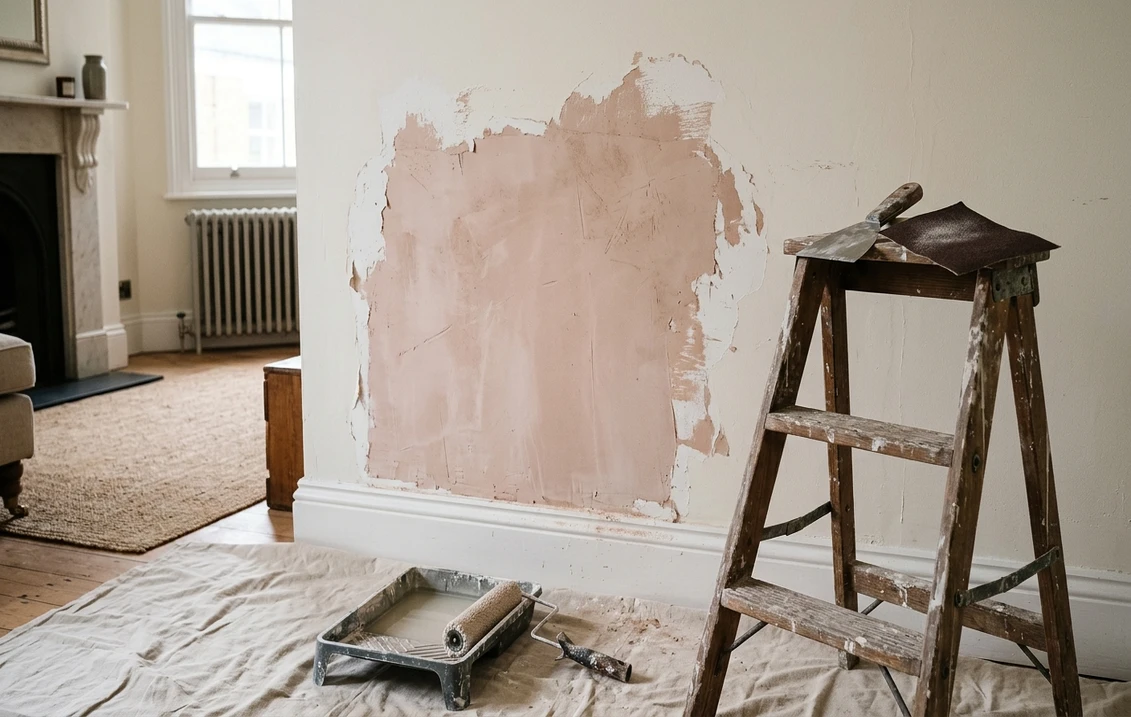
If your house is old enough, its ceilings may have been finished in distemper, a soft, powdery water-based coating. Modern paint sits on it badly. Farrow & Ball, which still sells one, warns in its Soft Distemper advice sheet (a copy hosted by a stockist) that flaking or peeling may occur over weak paint layers, and that the finish will not accept later layers of modern paint. Because distemper is water soluble, a damp sponge on a bare patch is a useful check: if it turns white and the surface softens, distemper is the likely culprit.
You have two options:
- Take it off. The Farrow & Ball sheet says previously distempered surfaces should be washed thoroughly, paying attention to the crevices of mouldings, and left to dry. It only works where the distemper is exposed or the paint above has come away.
- Bind it. Zinsser's Gardz sheet, which uses the American word calcimine, says it penetrates such chalky, water-sensitive layers and stops water-based topcoats softening them. Once dry, it can take water-based or solvent-based primer or paint.
Take care with ornate cornices and ceiling roses. Richard Ireland's article on cleaning decorative plaster warns that stripping inevitably damages surfaces and that leaving well alone is often better, so take specialist advice on fine or historic plasterwork. Our guides to interior limewash and period property colours cover the decorating side.
Before you scrape: check for lead paint
Scraping is exactly when old lead layers become a risk. The government's lead information page says UK paint from before 1992 may contain up to 50% lead by weight, that lead paint was common before the 1970s, and that it may survive in Victorian properties beneath newer paint. Exposure is only likely when paint is deliberately removed or sanded. Paint makers put the main risk slightly differently: the British Coatings Federation's guide for the public (December 2015) singles out wood and metal painted before the 1960s, while saying to test any house more than 40 years old if lead is suspected.
- Test first if the paint could be old. The government page warns that home kits are not accurate and can give false answers, so treat a kit as a guide only and consider a laboratory test or a professional.
- Keep it wet. The BCF says no dry abrasive paper, no dry dust, no blowlamps or heat that creates fumes; use wet abrasive paper or chemical stripper if removal is necessary.
- Leave sound paint alone. The BCF advises against removing paint in sound condition, and calls overcoating the safest option.
- Clear the room. Keep bystanders out. The government page says to keep children away until dust has been removed and the room ventilated, and advises pregnant women to avoid high-risk activities.
How to repair peeling paint, step by step
- Fix the cause. Repair the leak, improve the extraction, or treat the damp. Peel Stop's data sheet says any source of moisture intrusion must be repaired before repainting, and that ongoing failure may mean removing the whole coating.
- Check for lead as above, and protect the floor and furniture.
- Scrape back to a sound edge. Remove all loose paint: Dulux and Dulux Trade both say this on their product pages. Zinsser warns that any left behind can keep peeling.
- Sand the edges, if safe. Zinsser suggests 120 to 150 grit to feather rough edges, with a suitable mask for dry sanding. If lead is possible, use wet abrasive paper instead.
- Clean and dry. Wipe away the dust and let the wall dry completely. Peel Stop needs a surface free of dust, grease, mould and wallpaper adhesive.
- Seal or prime. Choose from the table below. Do not thin Peel Stop; work it into the cracks and edges of the old paint. One coat is usually enough, with a second if dull spots appear.
- Fill and smooth. Zinsser says to apply filler after Peel Stop if the surface is not smooth. Sand the filler and seal it, because filler is porous and can show through.
- Prime, then repaint. Peel Stop's sheet recommends priming with Bulls Eye 1-2-3 or Cover-Stain because the sealer is clear, followed by a quality water-based or alkyd paint. Dulux Matt asks for two coats, 2 to 4 hours apart.
Which primer or sealer for which wall?
| Product | Use it on | Coverage | Recoat | Limits |
|---|---|---|---|---|
| Zinsser Peel Stop | Previously painted walls and ceilings with flaking, peeling, cracking or chalking | 7.4 to 9.8 m²/L | 2 hours (touch dry 1) | Not for chronic moisture; not a substitute for preparation; do not thin; apply at 10°C to 32°C, humidity under 80% |
| Zinsser Gardz | New and old plaster, damaged plasterboard, skim coats, distemper, paste residue | 5 to 10 m²/L | 3 hours (touch dry 30 minutes) | Interior only; new plaster needs at least 24 hours first; not above 85% humidity |
| Zinsser B-I-N or B-I-N Aqua | Glossy and slick surfaces, after degreasing | See data sheet | At least 45 minutes | Moisture no higher than 18% |
| Johnstone's Ultra Primer Sealer | Dry bare plaster, plasterboard; vinyl silk before matt emulsion | Not on the page | Not on the page | Check the technical sheet |
| Crown Trade Covermatt Drywall Primer | Dry-lined walls and ceilings; new plaster as a mist coat | Up to 15 m²/L | 4 hours | Thinning not stated on the page |
Peel Stop's full cure is 7 to 10 days, and its warranty is limited to refund or replacement of the product. Gardz cures in 3 days, and it also stops the bubbles that form when damaged plasterboard paper is skim coated: cut away torn paper or sand it back to a sound area, then seal before any filler goes on.
How much sealer you need
Two worked examples from the makers' coverage figures (our arithmetic, one coat, whole ceiling). Spot priming takes less; porous plaster or a second coat takes more.
| Ceiling | Area | Peel Stop | Gardz |
|---|---|---|---|
| Bathroom, 2.4 m by 1.8 m | 4.3 m² | 0.44 to 0.58 L: one 1 L tin | 0.43 to 0.86 L: one 1 L tin |
| Bedroom, 3.6 m by 3 m | 10.8 m² | 1.10 to 1.46 L: one 2.5 L tin | 1.08 to 2.16 L: one 2.5 L tin |
When to call a professional, and how to stop it coming back
Bring someone in if a whole ceiling is shedding, if plaster rather than paint is coming away, if lead is confirmed or the damp source is unclear. A roofer, plumber or damp surveyor may need to go before the decorator. Our UK interior decorator cost guide and decorating costs breakdown help you budget. If you rent, report the problem in writing before anyone repaints: our anti-mould guide explains the rules on damp hazards in social housing.
To prevent a repeat: let new plaster dry and seal it as the tin says, clean walls before every repaint, run the fan during and after a shower, and respect the maker's limits. Both Peel Stop and PermaWhite specify 10°C to 32°C and under 80% humidity, which matters in an unheated room in a British winter. Peel Stop dries clear and should not be tinted, so the colour comes entirely from the topcoat. Our Crown and Dulux interior comparison can help with the choice of emulsion.
Wall repaired? Now see the colour on it
The visualiser cannot fix a peeling wall or tell you why it failed. What it does is show how a new colour could look in your own room, from a photo, before you buy the topcoat. More on the tool: interior paint visualiser for UK homes.
Compare colours on my roomSources and references
- Zinsser UK, Peel Stop and its technical data sheet: uses, preparation, coverage, drying, limits, warranty.
- Zinsser UK, Gardz and its technical data sheet: plaster pH, calcimine, paste, plasterboard, coverage, drying.
- Zinsser UK, How to fix flaking paint and How to paint glossy and slick surfaces: causes, repair sequence, primer times.
- British Gypsum, Thistle MultiFinish product data sheet: August 2018 edition, merchant's copy, and edition dated 15 September 2026 (search extract only): decoration of dry plasterwork.
- Valspar UK, How to paint new plaster: drying, plastic-sheet test, 3:1 mist coat.
- Dulux UK, Dulux Matt and preparation guide; Dulux Trade, Vinyl Matt: thinning, loose paint, recoat.
- Johnstone's Trade, Advice and Ultra Primer Sealer: new plaster, vinyl silk, ceiling water stains.
- Crown, How to paint new plaster (search extract only); Crown Paints Ireland, Contract Matt/Silk data sheet; Crown Trade, Covermatt Drywall Primer: mist coat instructions.
- Farrow & Ball, Soft Distemper product advice sheet (stockist's copy): behaviour of distemper, washing off. Richard Ireland, Cleaning decorative plaster (Historic Churches, 2005, on BuildingConservation.com): removal risks.
- UK government, Lead: information for the public; British Coatings Federation, HS 032, Lead in painted surfaces (December 2015, Painting and Decorating Association's copy): lead dates, testing, safe removal.
- HM Government, Approved Document F: bathroom extract rate. OHID, MHCLG and UKHSA, damp and mould guidance: types of damp.
- Water per litre and sealer quantities: FacadeColorizer calculation from the makers' figures, 1 November 2026.
Frequently asked questions
Why is the paint bubbling on my walls?
Can you paint over peeling paint?
Why is paint peeling from my bathroom ceiling?
What is the right mist coat ratio for new plaster?
Does Zinsser Peel Stop work on damp walls or new plaster?
Is it safe to scrape peeling paint in an old house?
Trademarks mentioned (Sherwin-Williams, Benjamin Moore, Behr, Caparol, Brillux, Sto, Alpina, Valspar, PPG, Glidden, Dulux, Crown Trade, Sandtex, Farrow & Ball, Johnstone's, Leyland) are property of their respective owners. FacadeColorizer is independent and not affiliated with any of them. Nominative fair use under Lanham Act §1125.